Adding and linking images
It is always a good idea to add photos to your content like blog posts. It helps tell the story and reach your community better than the content alone. You can also add a link to the photo. So when your visitor clicks on the photo, it will take them to the web page you link it to. Here is how to add a text link and an image with a link within the body of your blog post.
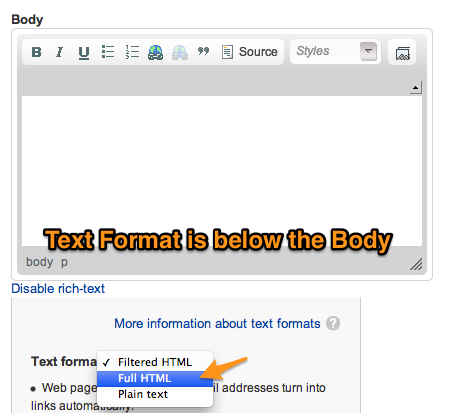
When adding a blog post, a helpful hint is to change your view to 'Full HTML' for more editing options. The Text Format is found just below the body.
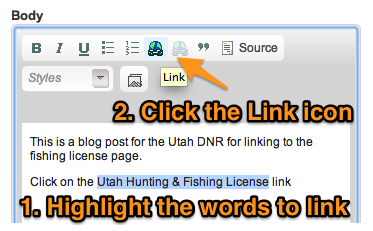
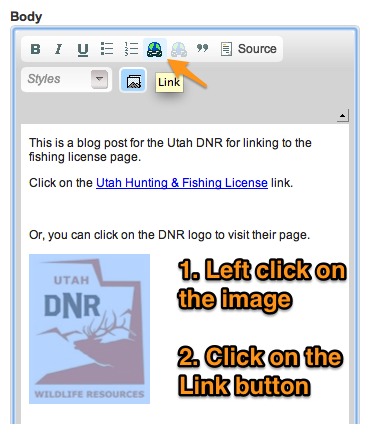
To add a link within the body of the content, highlight the words that you would like to link and then click on the Link icon in the header of the body.
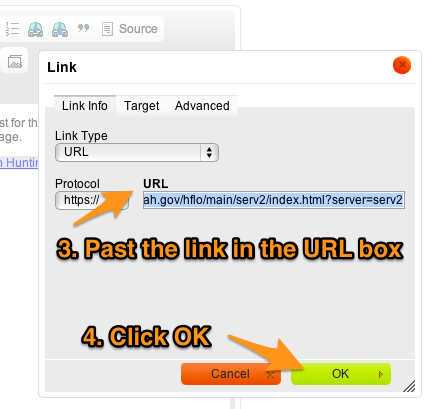
Then you will copy and past the URL from the target web page into the box labeled 'URL'. This URL is found in the address bar at the top of your browser.
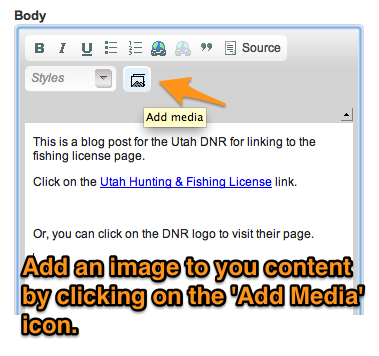
Another option is to add a link using an image or logo within the body of the content. To start, you need to add the image to the body of the content.
Then you will choose, upload and submit your file to appear in the body of the content.
Finally, you will create a link with the image in the same method as you would for creating a text link.
